Saturday, July 20, 2013

Closet Organize

 It stared out so innocently. I wanted to put away our fresh, clean sheets into the linen closet and it all started from there.

The kiddies were napping and I thought: 'what better way to spend my downtime than to immerse myself in a bigger cleaning project than I have time for?' I tend to bite off more than I can chew... but in this instance, its a good thing I took a bite! 

Only in my house can a cleaning project turn into something that involves stamps and labels! My inspiration? A guest closet how-to courtesy of Country Living. I mean, seriously... forget "guest" closet, I want a closet like this! 

With ideas like this tucked in the back of my brain, I set out to work. I wish I snapped before pictures of our closet, but lets just say everything was all over the place. I didn't even know what was in there; it was a total disorganized mess that beckoned some love. 

Country Living Magazine

Country Living Magazine


Hair products have their own basket
At the end of the madness, our closet looks something like this. There's something about neatly folded towels and sheets that make me happy. I delved into the vanity and started labeling and organizing there as well. It could be addicting. Keep in mind, I don't have a camera crew at my house to take the best angles and provide optimum lighting, but here is the final project. 

Future Project: bathroom makeover, specifically painting the vanity from the ugly (fake) wood color to a beautiful and vibrant white. That will have to be another day when I begin biting again.. 

'Bagno' sign from Anthropologie, its temporary home

First aid is in the 'Boo-Boo Helpers' basket and shaving supplies reside in 'Everything Else'

Speaks for itself

Toothbrushes and face washes are in the wooden caddy which I scored from an antique store!


Freshly washed sheets.... ahhhh...

Now I'm not afraid to open our closet anymore!

Tuesday, July 16, 2013

Book Covers


You can't go wrong with Steinbeck
When I was younger, we used cover our school books with paper bags to protect them. Now, I do it just to make them look pretty! I simply haaaad to do something crafty with these books since my husband brings them home (FREE) from the library. Did I mention they're free? Now, if he could score a free bookcase to put them in, I'd be as happy as a hippo in water.

These books all tell a story, and I don't just mean the ones on the pages. Seriously, old books reek of history and the people who have given them away, received them as gifts, curled up on couches reading them and ultimately, passed them along. I even opened a book that had a written inscription on the front.

Now, these guys sit on whatever table we can manage to fit them on. Notice how neat these stacks are? I failed to take a picture of our overflowing and cluttered dining room table simply because I don't want to appear like a hoarder. 

A well-read plant is a happy one


These have yet to get 'dressed'

If you'd like to fashion up your books, here's what you'll need:

  • Craft paper (you'll find this in the scrap booking section of Michael's)
  • Paper bags (this will cover entire book)
  • Labels
  • Alphabet stamps

So here's what I did:

I wrapped the books using paper bags and tape, 'old school' style.
Then, take your pretty craft paper and cover the binding and half of the front and back covers. After doing this, stick it on with double-stick tape and voila! 
To finish them off, I whipped out my huge bundle of labels (which I got from Amazon at an AMAZING price, seriously way cheaper than any store). 
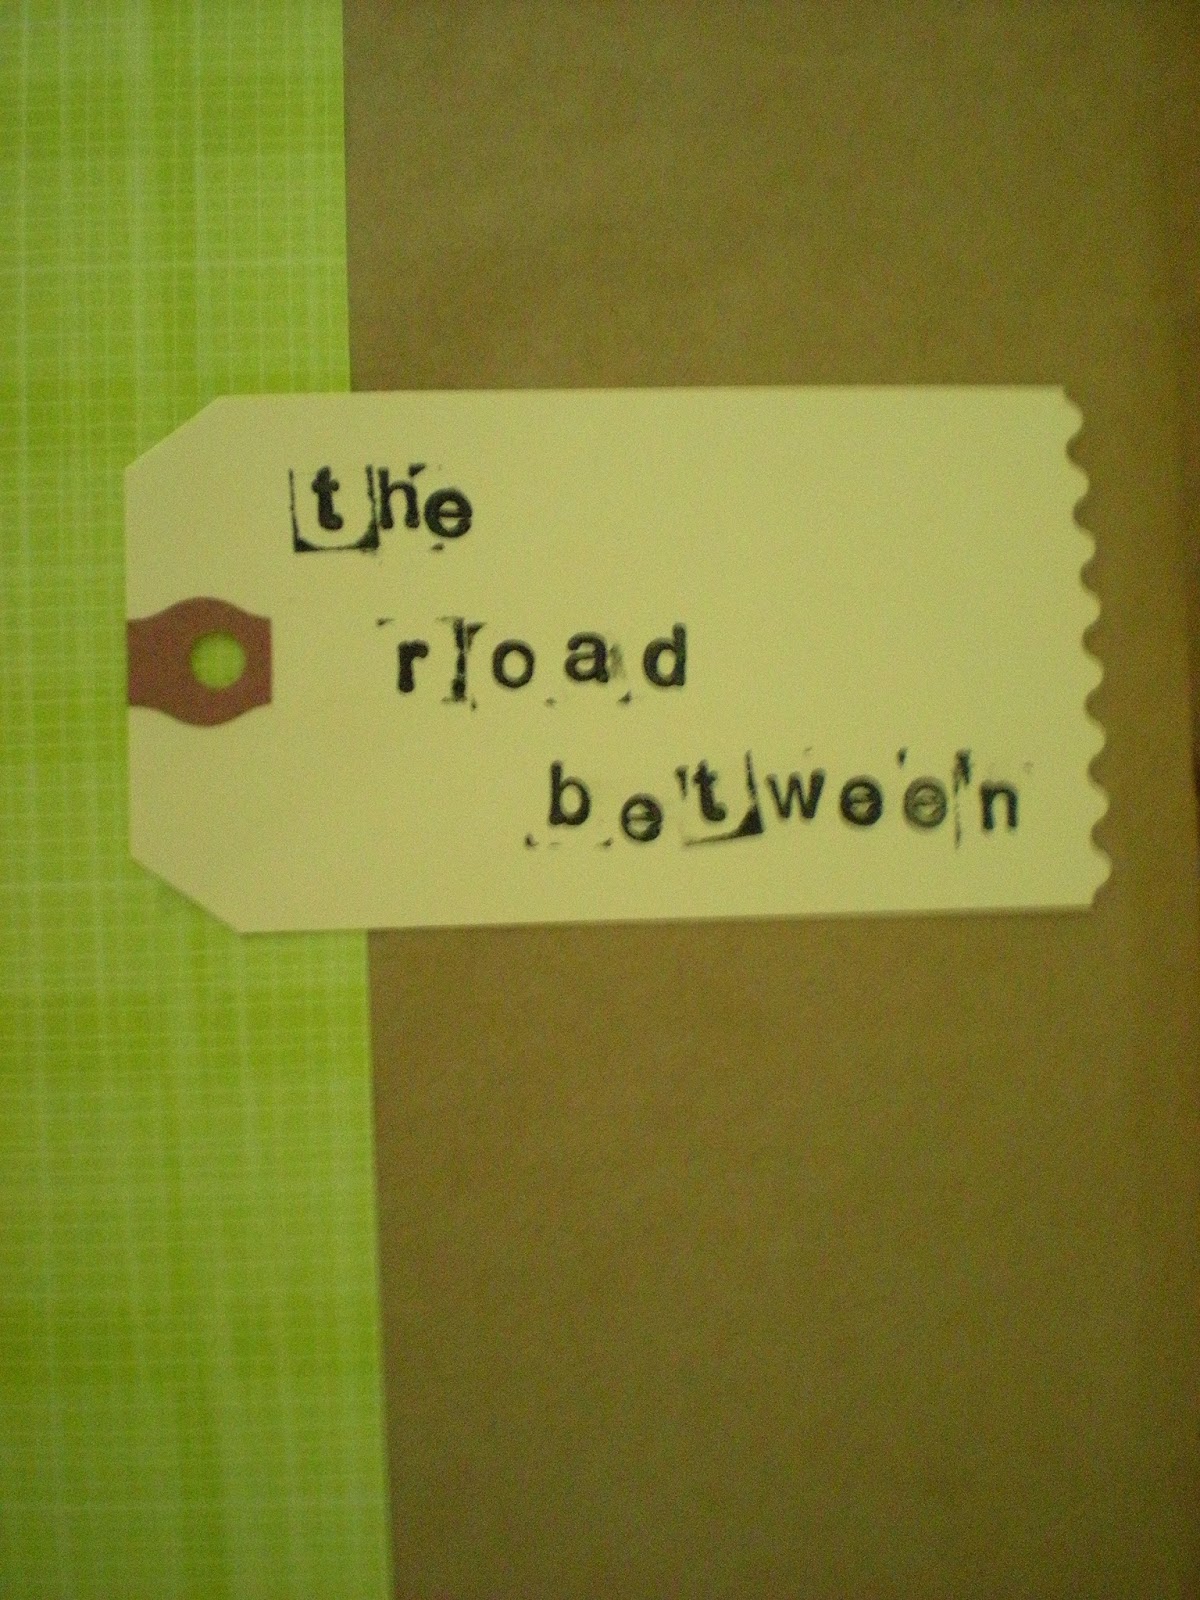
I then stamped on the title, and double-stick taped it to the front of each book. 
As a minor detail, I cut the side of the labels with those scissors that give a zig-zag design and I was done. 

Sound easy? It was! However, more time consuming than I'd like to admit, especially with two bundles of joy tearing apart my house! 


Tuesday, March 26, 2013

Spicing things up

Yesterday I took a trip with my mom to Home Goods. Oh boy, that store is so good yet so bad at the same time. I found myself editing things from my cart since we're on a tight budget... especially now that our refrigerator decided to break on us!

What didn't make the cut was something that would be of great utility in my kitchen. I'm not one for mere decorations in the kitchen, (especially) since its a small space and everything in there needs to have a function. This seed holder would serve as a great use for our spices, so I'm thinking.


It will also give me an opportunity to display these Anthropologie jars I bought a long time ago and never knew what to do with! I'm just missing #2 and #7 :(  I'm sure they'll turn up when I do the major spring cleaning I'm 'planning'. With a toddler and infant its a wonder I even get to write on my blog! 


Wednesday, March 13, 2013

Wire Basket

A shabby chic find... On my Michael's hunt I scored this wire basket for only 8 bucks! Check it out people, I'm very proud of it. Love the little detail with the number, since anything marked with numbers screams vintage and is instantaneously cool. It also has a touch of industrial to it, which I like.


A new home for our oranges.


Friday, March 8, 2013

Cocoa Please!

Today I was going to go through our spring things and put away the transitional winter stuff. You know, the odds and ends and remnants of warmth (such as cozy blankets and winter gear). However, my plans were thwarted when I looked out our window and saw this!


Winter Wonderland

I was not dismayed one bit, but decided to put my plans on hold. I would feel as though I were cheating on winter if I de-hibernated all of the spring decor! So instead, I'm baking pretzels and firing up hot cocoa for my family. With husband home, he has time to watch the little ones while I have fun in the kitchen! 

By the way, I realize this is my THIRD post that includes pretzels, but it always seems to snow when I blog.. and I always seem to bake these when it snows. 


Yummmmmmm....

Anyway, when my two snow angels came back inside (huz and daughter), I greeted them with hot cocoa and pretzel sticks. HERE is my fab-ulos-o recipe for cocoa, keeping it healthy while keeping it good!!

HOT COCOA

2 1/2 - 3 cups almond or coconut milk (I used both since I ran out of one)
3 heaping TBSP. unsweetened cocoa
One 'pour' of pure maple syrup (unfortunately, I didn't measure this, but sweeten to taste)

Put contents into blender. I fired up our Vitamix and it created a 'froth' along the top. Once everything was mixed, I poured it into a pot and let it simmer on very low until it was hot. Probably 10 - 15 minutes, depending on your stove. 

I topped theirs with yummy mini-marshmallows and they drank it up! A lovely accompaniment to the snow, don't cha think? 


Thursday, March 7, 2013

Knick knacks

I don't do nearly as much as I want to do in a day. Granted, I'm taking care of two little ones and the chores are extremely endless, as any stay-at-home mama knows, but I'm referring more to things I want to do. Don't get me wrong, potty training, cooking, nursing, changing diapers, cleaning after my little girl over and over again are really quite 'fun', but I'm talking about the odd little projects I'd like to sit down and do. 


For instance, I enjoy browsing Pottery Barn or country stores for inspiration and then taking a trip to the nearest thrift shop or antique store to see what I can salvage from those ideas. Seriously, the possibilities are endless. On my last antique hunt, I picked up vintage stamps. Mind you, I'm not at all a 'stamp' gal, but these were made of wood and I had seen something similar in a PB catalogue. So, I went for it and picked them up. I purchased the most random letters and could barely spell anything, but managed 'love'. Hey, whatever works.


As I type, those letter stamps sit in a glass jar on my self-made mantel (ie, shelf!) above the t.v. Both my kiddos are in dreamland and I'm typing about the day I can finally have some time to actually do projects again.


Wednesday, March 6, 2013

Chalkboard Bliss

I've certainly been getting a lot of mileage out of our little can of chalkboard paint. I reach for it when I don't have any projects I can really sink my teeth into (mind you, I still have a bathroom that seriously beckons to be painted), it's my go-to project-in-a-can! 

Current wall (above)... you can also see our bathroom much in need of a paint job!


Last week I decided that our kitchen needed another chalkboard because one just isn't enough. I've spent way too much time on Pinterest and seeing far too much inspiration on chalkboard walls. Even though my husband thinks I'm nuts, I really enjoy how the finished product came out. 


New chalkboard


I even have chalkboard on my cups!


You see, I not only painted a wall, but gave new life to a space that I've constantly been revamping ever since we moved in. My plan is to extend our kitchen counters (or lack thereof) and place a butcher block beneath our new 'wall of fame'. As for painting itself, I opted out of precise lines (mainly because I was too lazy to tape it), but also because I was inspired from a picture I recently saw from Country Living mag. Lines were haphazard and it looked spectacular and random.  

As for the EAT sign, my husband nearly freaked when he saw it was hanging on by a few thumb tacks... I have been known to do crazy things like that. However, these are made out of cardboard, which are made to look like Anthropologie zinc letters. I will blog about that project soon.